
App Cleaner & Uninstaller is a mac application cleaner、mac application uninstall tool,It can help you deeply clean application residues,Completely uninstall mac apps。
App Cleaner & Uninstaller Pro
Awesome app cleaning and complete uninstall tool,App Cleaner & Uninstaller Pro is the best and cleanest tool for uninstalling applications on the macOS platform.。
uninstall、Reset app
Completely uninstall the app or reset the app to its original state。
Extended management
Extended management includes:Start agent、Login items、Installation files(Bag)delete、browser extension、Preference panel items, etc.。

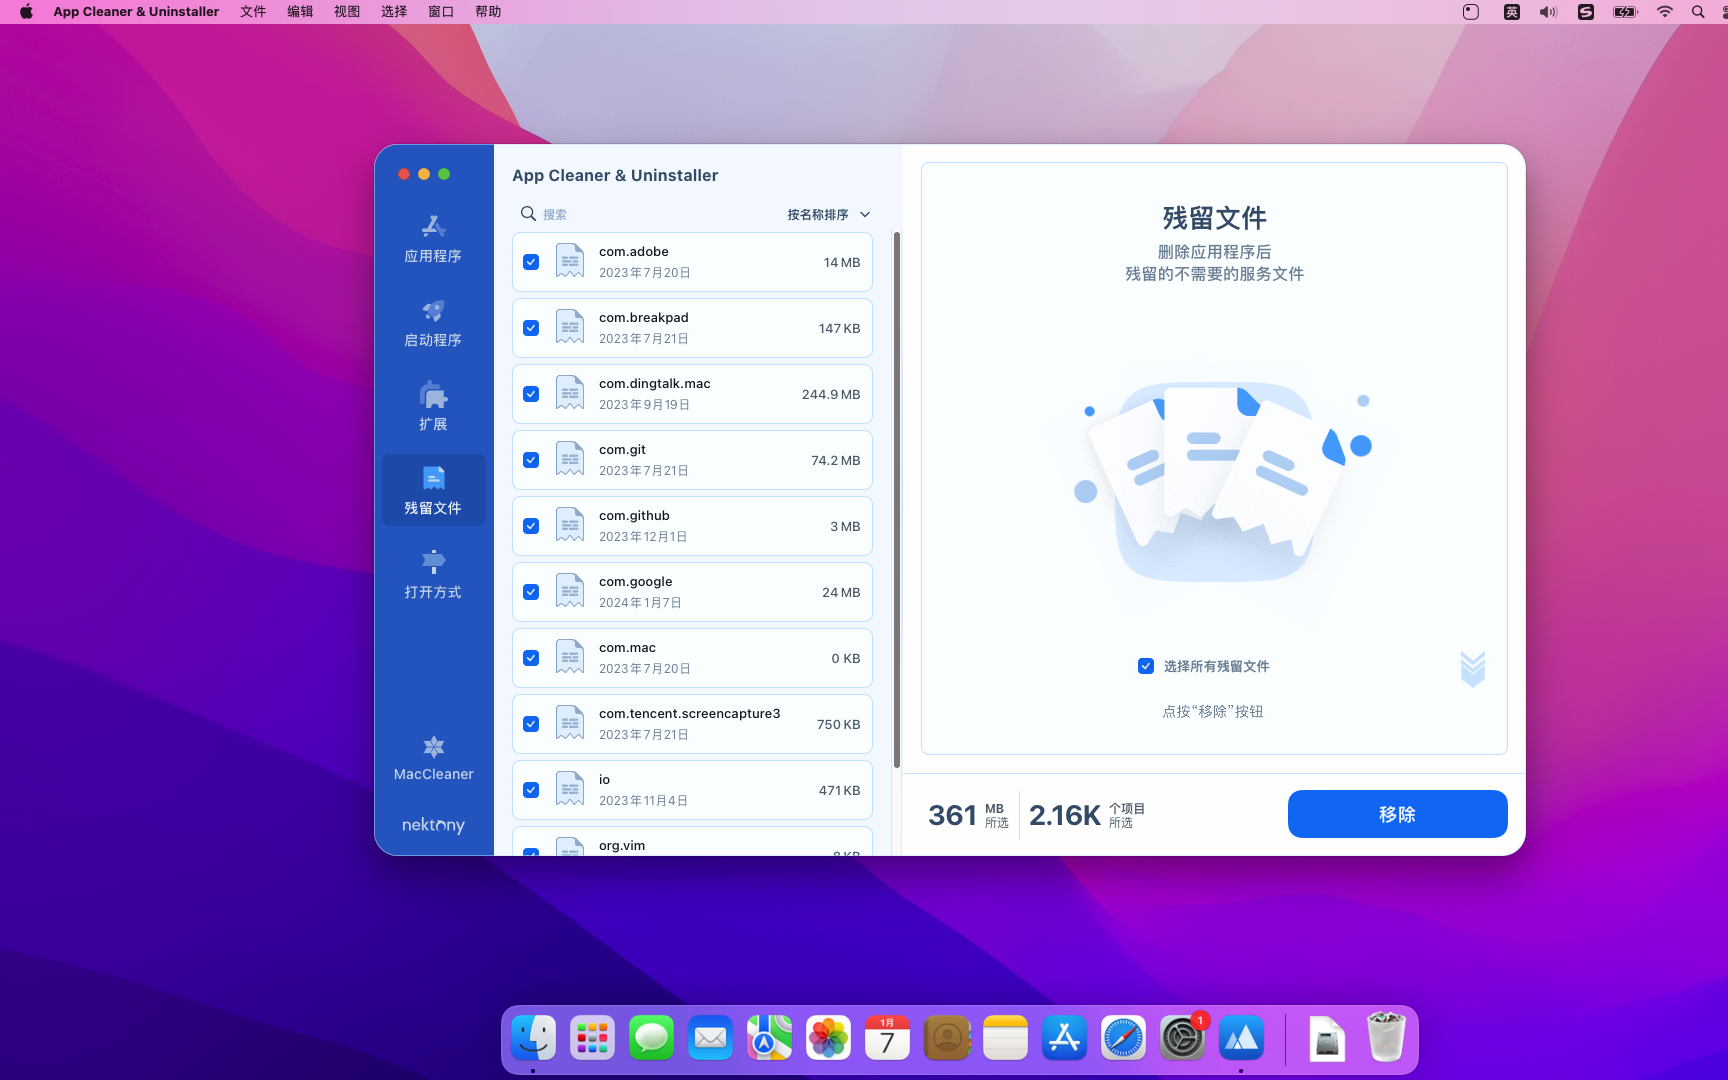
Clean up residual items
If you are not using App Cleaner & Uninstaller Pro uninstalls apps,It is very likely that the application will not be completely uninstalled.,This leaves a lot of residual items (junk files),Use Residue Cleaner to help you completely clean up Mac application residue。
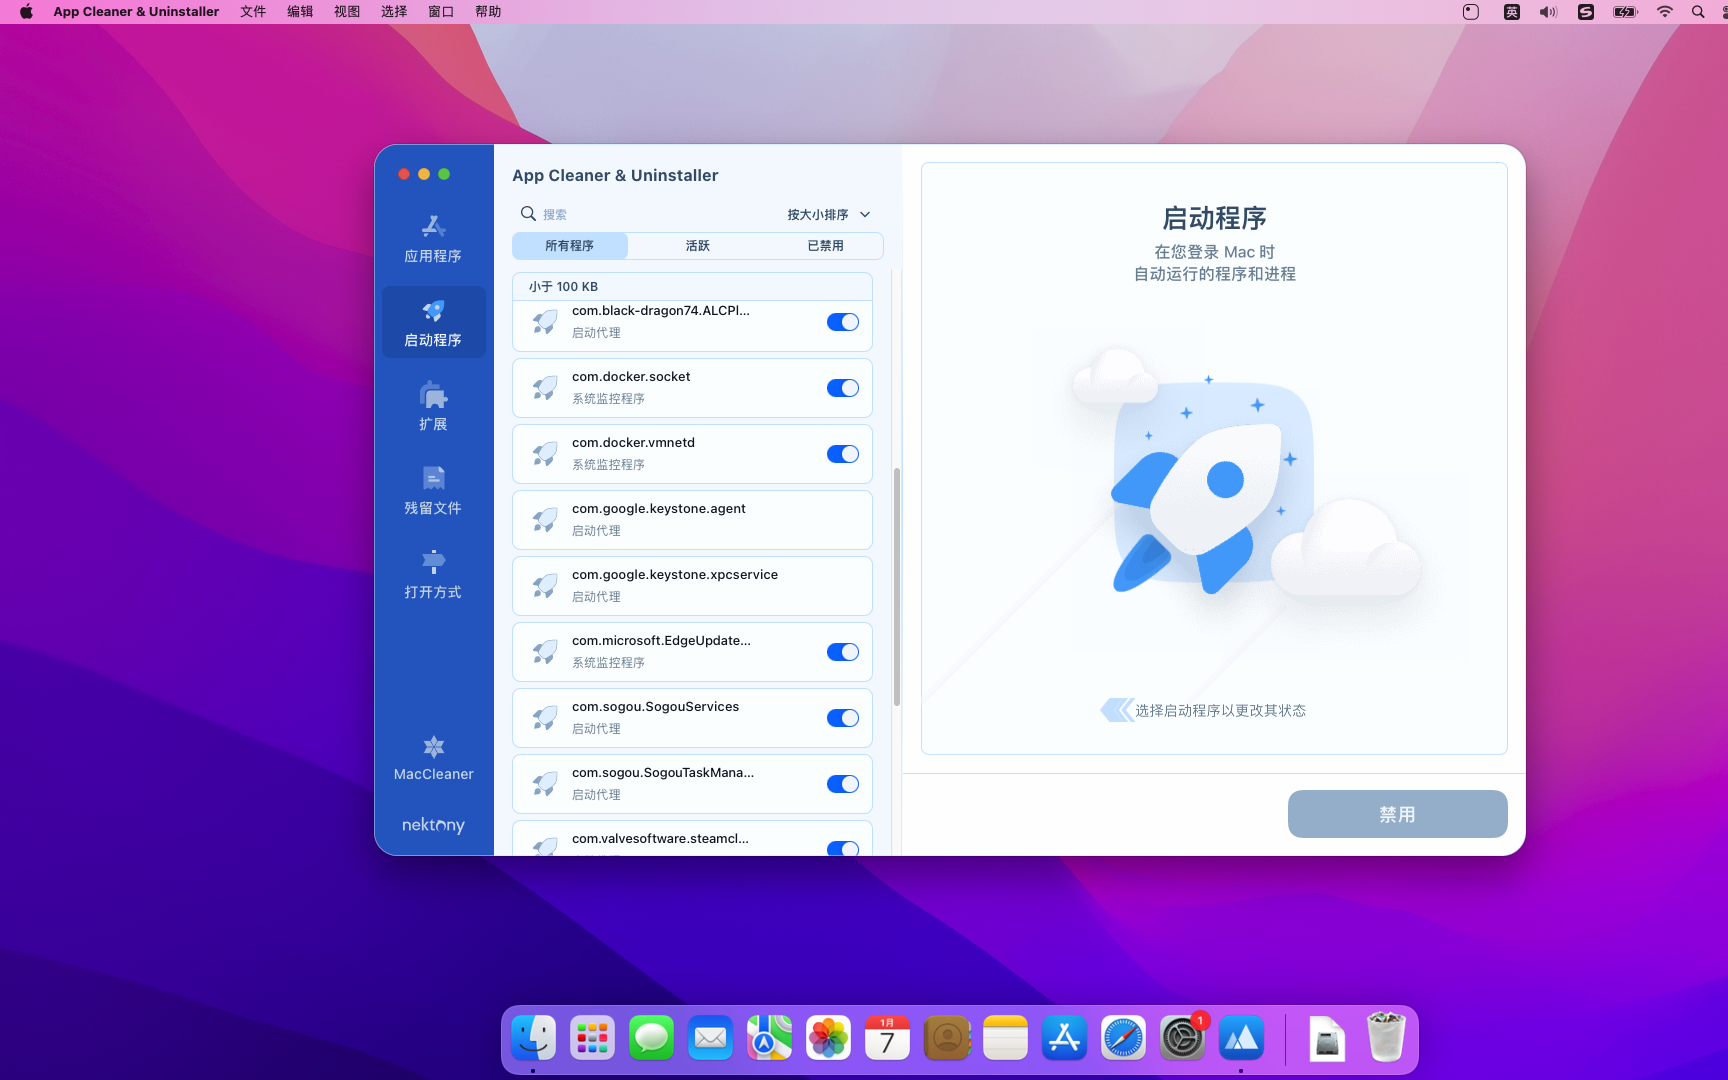
Startup management
Can manage startup applications、Start the agent and system startup monitoring program。
Default application management
Files in certain formats can be set to be opened using specified applications。
Most of the download resources on this site are collected from the Internet,Only for learning and communication purposes,Copyright belongs to the original author。If you need to use non-free software or services,Please purchase genuine licenses and use them legally。If the content published on this site infringes upon your rights,Please contact the webmaster to delete,We will handle it promptly。
If the download address is invalid,You can leave me a message,The editor saw the news,Will update the link as soon as possible! Thanks!


Trackbacks