Pixelmator Pro includes new workflows and more intuitive and simpler editing software。It also features a single-window interface and smart image editing capabilities based on machine learning。Pixelmator Pro is developed using the Core ML framework,It integrates perfectly with macOS High Sierra,Level detection can be completed automatically,Smart quick selection, better repair tools, and more。
The application is based on Swift 4 ,Integrated Metal 2 ,Core Image and OpenGL 。And the new drawing engine,Can free up computational load from the CPU,Also accelerates graphics-intensive tasks。Pixelmator Pro also has Metal-based 2 dynamic drawing blending techniques。For example, Metal 2 Used to render paint tools and dual texture brushes。
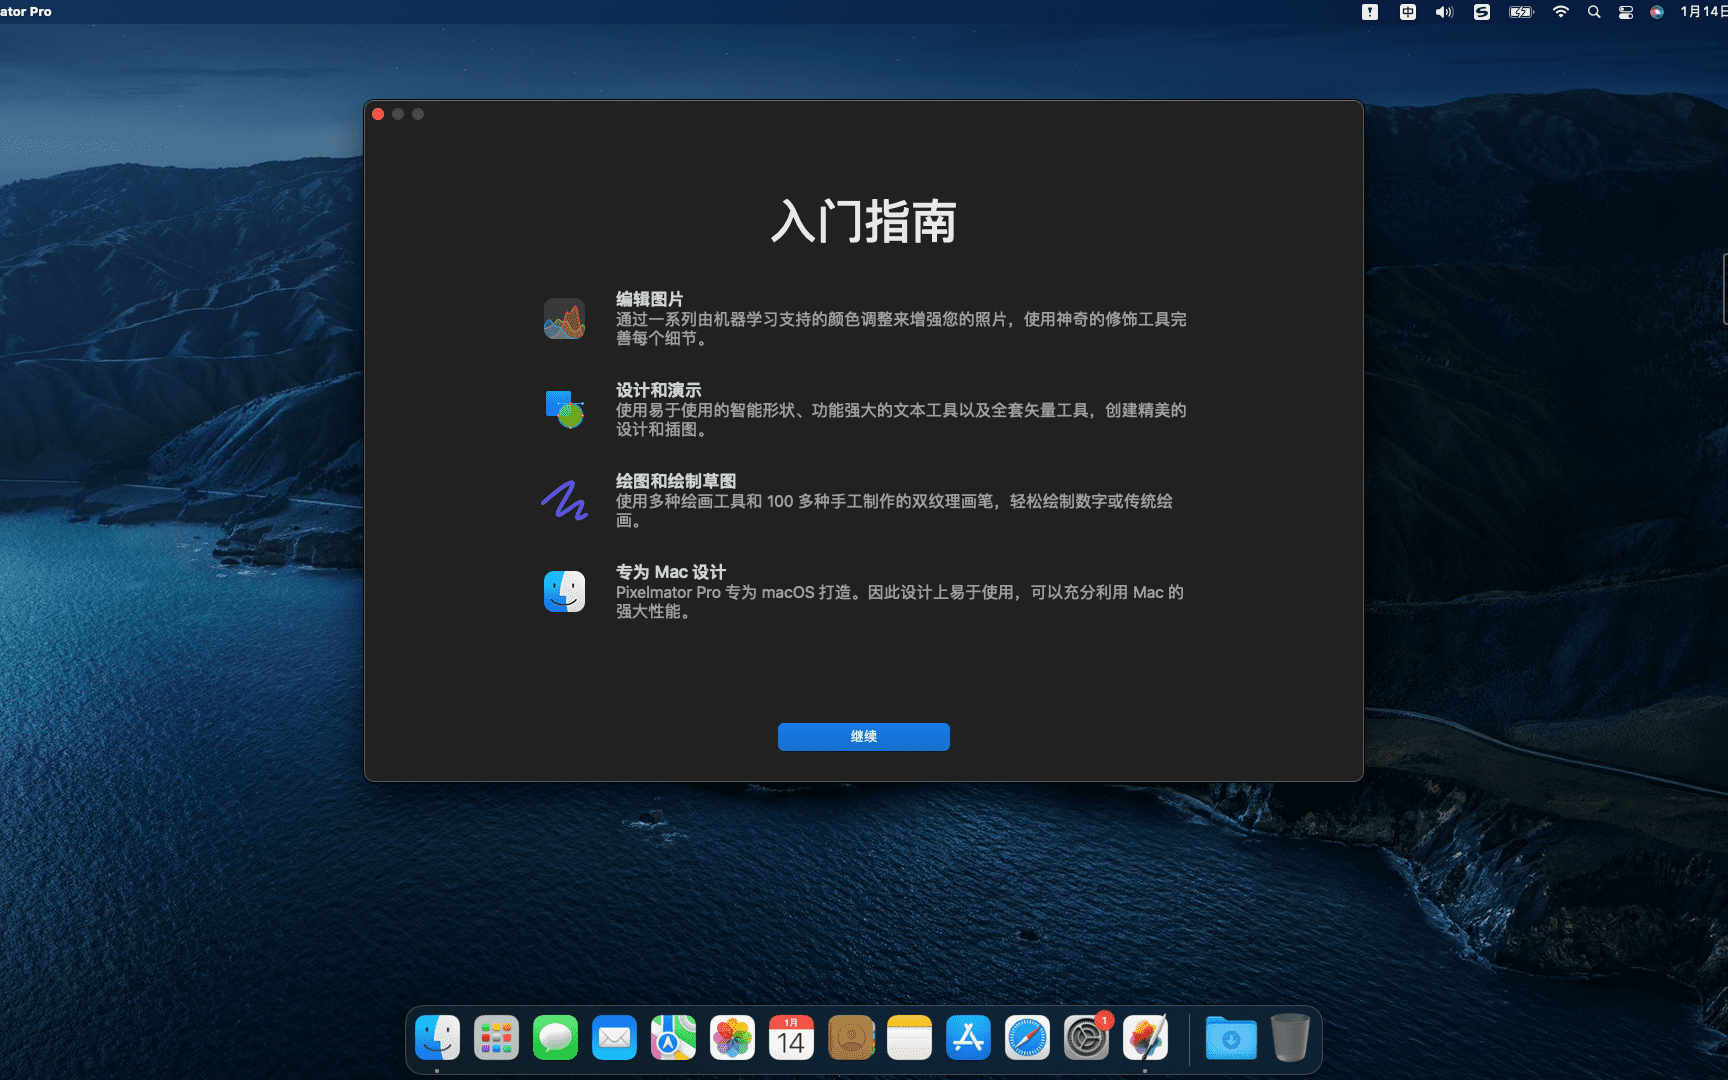
With an improved single-window interface,Replaced Pixelmator's floating tool panel,Pixelmator Pro puts focus on the image at hand,rather than in the application's toolset。 Pixelmator 团队还简化了GUI ,以配合 macOS 的外观和风格,这样他们就能呈现出一个完美的产品,其风格和功能与苹果官方的产品十分接近。 Pixelmator Pro 的主要功能还包括非破坏性的图像编辑,还有更改图层大小的位置的新工具。全新的色彩调整工具和 RAW 支持可以让用户更快速的调整照片。
Pixelmator Pro 的售价为 59 美元,不知道你觉得它和 Photoshop 哪个更好用呢?
statement:All articles on this site,If there is no special instructions or markings,All are originally published by this site。any person or organization,Without the consent of this website,Reproduction prohibited、Misappropriate、collection、Publish content from this site to any website、Books and other media platforms。If the content on this site infringes upon the legitimate rights and interests of the original author,You can contact us for processing。
Can free downloads or VIP membership resources be used directly for commercial use?
The copyright of all resources on this site belongs to the original author,The resources provided here are for reference and study purposes only.,Please do not use it directly for commercial use。If copyright disputes arise due to commercial use,All responsibility lies with the user。For more instructions, please refer to VIP introduction。
It prompts that the download is complete but cannot be decompressed or opened?
The most common situation is an incomplete download: You can compare the capacity of the downloaded compressed package with the capacity on the network disk,If it is less than the capacity prompted by the network disk, this is the reason。This is a browser download bug,It is recommended to download using Baidu Netdisk software or Thunder。 If this situation is excluded,You can leave a message at the bottom of the corresponding resource,or contact us。
Can't find the sample image in the material resource introduction article?
For members only、Whole site source code、Program plug-in、website template、Web page templates and other types of materials,The pictures used for introduction in the article are usually not included in the corresponding downloadable material package.。These related commercial images need to be purchased separately,And this site is not responsible for(There is no way)find source。 The same is true for some font files,However, some materials will have a list of font download links in the material package.。
The download address cannot be displayed or the content cannot be viewed after payment?
If you have successfully paid but the website does not pop up a success prompt,Please contact the webmaster to provide payment information for you to process
After purchasing this resource,Can I get a refund?
Source code materials are virtual goods,replicable,Transmissibility,once granted,No refunds of any kind will be accepted、Exchange request。Please confirm before purchasing to obtain the resources you need.
Comments (0)
Note: Please be respectful and civil in your comments Cancel reply
The startup screen may vary depending on your Mac model、Varies depending on factors such as operating system (macOS)。Some screens, such as the ban sign or question mark, mean you need to solve a problem first,Then the Mac can complete booting。For all Mac models,When you see the Finder menu bar、Desktop and Dock,This means that the startup is complete。today,The editor of MacW will take you to understand what the various interfaces displayed when Mac starts up represent.。 1. Forbidden symbol A circle crossed by a line or slash means that the selected startup disk contains a Mac operating system,But it's not macOS for your Mac。You should reinstall macOS on this disk。 2. Question mark A folder with a question mark means that the selected startup disk is not available,or does not include Mac OS。Learn how to fix problems with flashing question marks。 3. Blank Screen It is normal to have one or more blank screens during startup.。it may be black、grey、blue,It could also be a desktop picture。If no image appears on the screen after a while,Make sure your display is on、Connected and brightness turned up。 4. Apple Logo Your Mac displays the Apple logo after finding the local startup disk,This disk is the Mac's built-in startup disk or is directly connected to the Mac's startup disk。If your Mac cannot find your local startup disk,then it will try to use a network boot disk if one is available。As the boot process continues,You should see a progress bar or indicator showing the circle (which may or may not contain the Apple logo)。This screen may alternate with a blank screen multiple times。 If you're updating or reinstalling macOS,then this stage may take longer to complete。As the installation continues,The progress bar may move slowly and pause for a long time。Find out if your Mac seems to be stuck on this screen during the installation process or just after the installation is complete,what to do。 5. Rotating Earth When using a network boot disk,Your Mac displays a spinning globe instead of the Apple logo。When launching from macOS recovery function over the Internet,There will also be a rotating earth。As the boot process continues,You should see a progress bar,It may alternate with a blank screen multiple times。 6. Earth with warning symbol when your Mac tries to boot from macOS Recovery over the Internet and fails,You may see a globe with an exclamation mark。Your Mac may not be able to connect to the internet,Or it might be using a network configuration that's incompatible with macOS recovery features。Please try the following solutions: – Use Command-R on startup to try to use the built-in macOS recovery system,Rather than booting from macOS recovery over the Internet。 – Connect to the Internet using Ethernet instead of Wi-Fi,vice versa。 – Connect to the Internet from another network。 – Please try again later,Because the problem may be temporary。 7. Lock icon If your Mac uses a firmware password,then when you try to download a file from another disk or volume such as,external drive or macOS recovery) a lock icon appears when starting。Please enter your firmware password to continue。 8. PIN code to lock your system if your Mac is locked remotely via the Find My feature,then your Mac will ask for a PIN。Please enter a four-digit or six-digit password to continue。 9. Login window In the login window,Enter your user account password,to log into your Mac。If FileVault is open,then this action will also unlock your disk。You may see the default desktop picture in the background,After you select your account,This image may be changed to a desktop image of your choice。 By understanding these launch screens,You can better solve problems you encounter when your Mac starts up,Make sure your Mac starts up smoothly and works normally。
Many Mac users may encounter this problem:How to prevent others from viewing files or photos on your Mac? Mac is not like PC where you can hide folders directly,So how does macOS encrypt files? Today I will bring you a tutorial on encrypting files on Mac。 step one:Open Disk Utility 1. Method one:Via the magnifying glass button • Click the magnifying glass button in the upper right corner of the screen。 •Enter “Disk Utility” in the pop-up dialog box,Then press Enter。 2. Method two:Via Launchpad •Click the Launchpad icon at the bottom of the screen。 •Find the "Other" folder in Launchpad and click to open。 •Select "Disk Utility" in the "Other" folder and click Open。 Step 2:Create an encrypted folder 1. Click "File → New Image → Blank Image" in the menu bar in the upper left corner。 2.Enter the folder name in the dialog box,And select the encryption method in the encryption options below。 3.The system will pop up a dialog box,Ask for password and verify。After input is completed,Click the "Choose" button,Then click "Save" at the bottom right of the dialog box。 4.After setting up,Two icons will appear on the desktop。Drag the file that needs to be encrypted to the second icon (the original file will still be in,Finally delete the original file to achieve the encryption effect)。 5.After dragging and dropping files,Right click on the icon,Select "Launch 'Unnamed'"。Finally, click on the encrypted .dmg file and enter the password to view the encrypted file。 Go through the above steps,You can create an encrypted folder on your Mac,Effectively protect your privacy and important files。
USBclean is a powerful U disk virus scanning tool on the Mac platform,USBclean can help you remove all those nasty junk files quickly and easily and also format your USB drive.,You can easily launch USBclean from the system menu bar and run it directly。 The unique classification and killing engine can detect and kill more than 470 kinds of U disk viruses. U disk virus broad-spectrum scanning,U disk virus immunity,Fix display of hidden files and system files,Safely uninstall mobile disk drive letter and other functions,Comprehensive integrated repair and removal of U disk viruses。 At the same time, USBCleaner can quickly handle new U disk viruses.。
Special reminder:This software requires Rosetta to be installed on the macOS system to run。 Rosetta installation method reference tutorial: Apple ARM M1 application crashes after installation、What should I do if I cannot activate it? Apple ARM M1 application crashes after installation、What should I do if I cannot activate it? UltraEdit 20 for Mac is a powerful text code editor。UltraEdit can edit text、hexadecimal text、ASCII code,Can edit multiple files at the same time,File comparison is possible,UltraEdit built-in FTP browser,and supports syntax highlighting for hundreds of programming languages,With integrated SSH / telnet client,Script,Custom tools,Macros and smart templates,UltraEdit can be used with any coding session。This site provides UltraEdit20 mac crack version download。
In order to protect the security of the data in the USB flash drive or mobile hard disk,It’s important to develop a good habit of safely ejecting your device。So,How to safely eject a USB flash drive or removable hard drive on a Mac computer? Let’s take a look at the specific steps below! 1. Insert the U disk •After inserting the U disk normally,A disk icon will appear on your Mac desktop。 Method one:Pop up through the right-click menu 1. Right-click on the U disk icon on the desktop。 2.Select "Launch [Device name]”。 3.After the drive letter disappears,Indicates that the USB flash drive has been safely ejected。 Method two:Pop up via Finder 1. Use the left mouse button to click Finder。 2.Find the USB drive name in the "Location" column,Click the "⏏️" icon next to。 3.When the USB flash drive disappears from the Places option and desktop,Indicates that the USB flash drive has been safely ejected。 Frequently asked questions and solutions 1. Unable to pop up...
Many friends don’t know much about how to import presets in Lightroom.。Today, the editor brings you a detailed tutorial on batch importing Lightroom presets.,Let’s learn together! step one:Preparation first,Make sure you have the preset folder or preset file ready to import。 Method one:Import presets via the Import function Open Lightroom Import an image into Lightroom,Click the Import button。 Edit Photo Click "Edit Photo"。 Import presets Click the "+" button on the left panel,Select "Import Preset"。 Browse and select the preset file to install,Click "Import"。 Done The newly installed Lightroom presets can be found under "User Presets",Click on a preset to apply the effect。 Method two:Import presets via Preferences Open Lightroom Select "Preferences" in Lightroom。 Select a preset in the Preferences dialog,Select the "Presets" tab。 Open the Lightroom Presets folder and click "Show Lightroom Presets Folder"。 Import preset files Find and open the "Develop presets" folder。 Drag and drop the preset folder. Drag and drop the preset folder to be imported directly into the "Develop presets" folder.。 Complete After the import is successful,You can find your newly imported Lightroom presets in the left panel,Click on the preset to use it。 Through the above two methods,You can easily import presets into Lightroom,Improve photo editing efficiency and quality。Hope this tutorial can help you!
My Apple laptop accidentally deleted all the files in "All My Files",What should I do if everything is moved to the trash? Found no batch recovery,Can only be restored one by one。Don't worry,Mac can only batch restore files in the same folder,Unable to batch restore files in different folders。The editor below will introduce how to batch restore Mac files。 step one:View files in the Trash When there is only one file in the Trash,You can see the menu option "Replace";But if there are multiple files,There is no such option。 Step 2:Open "Automatic Operation" 1. Click the launch pad at the bottom of the screen,Find the "Other" folder。 2.Enter "automatic operation"。 Step 3:Create a new automatic operation service 1. Select "Service" in the pop-up page,Then click the "Select" button in the lower right corner。 Step 4:Add AppleScript command 1. Find "Run AppleScript" in the left menu bar。 2.Enter the following command: tell application “Finder” set theItems to items of trash repeat with anItem in theItems move anItem to home end repeat end tell 3. Click the black triangle button in the red box in the upper left corner to execute the command。 Step 5:Handling error prompts If an error is prompted when executing a command,Just change "trash" in the command to "trash": tell application “Finder” set theItems to items of 废纸篓 repeat with anItem in theItems move anItem to home...
XMind is a powerful mind mapping software,But sometimes the file may be damaged and cannot be opened.。Here are the steps to resolve this issue: Open the XMind app: Start XMind software。 Enter file cache: Select "File" in the menu bar。 Click on the File Cache option。 Select the files that need to be recovered: in file cache,Find and select the files that need to be recovered。 Recover files: Click the "Retrieve" button,to recover selected files。 Reopen file: After recovery is complete,Try reopening the XMind file,Check whether you can access and edit normally。 These steps can often help you recover XMind files that cannot be opened due to file corruption。Make sure to back up important files before proceeding,To prevent unexpected situations from happening。 If the above methods cannot solve the problem,You may want to consider using XMind's backup files or contact XMind's support team for further assistance and support。 through these methods,You can effectively deal with XMind file corruption issues,Make sure you continue to use this great mind mapping software effectively。
Hands Off! It is a firewall-like tool on Mac,It helps you control whether programs access the network or disk。and monitor untrusted processes and information in the system。 Hands Off!Ability to detect any unobtrusive activity in the background,Enable you to make informed decisions,About the transfer of your private information,To avoid leakage of confidential information。 Hands Off!While your computer is connected to the Internet,Who the application can be sent to,What data do they want?,are able to monitor and control all programs making suspicious data connections and transfers,And directly display the action of the program。Hands Off!Also exposes hidden connections,Prevent them from ever doing so without your consent,Send data or call home。 Hands Off!This prevents applications on your computer from freely reading data without your knowledge.,Store or delete information on your computer。Hands Off!Can monitor and control disk access for all applications,to prevent them from obtaining confidential information,Delete your data or stored cookies 。
MacBook Pro’s Touch Bar is a very handy tool,It can display different shortcut functions according to your needs。but,The default settings may not meet all your needs,You can optimize Touch Bar functionality with custom settings。Here are the steps on how to customize the Touch Bar function bar: 1. Open System Preferences • Click the Apple icon in the upper left corner of the screen,Select "System Preferences"。 2. Go to Keyboard Settings •In System Preferences,Click on the "Keyboard" option。 3. Access Touch Bar settings • In the Keyboard settings window,Click the "Customize Touch Bar" button。 4. Customize Touch Bar functionality •Drag and drop icons:In the custom interface that appears,You can drag different function icons into the virtual area of the Touch Bar。You can select "Frequently Used Functions"、"Control Bar"、"Application shortcut keys" etc.。 •Add or remove features:Click on the function options on the left,Drag them into the Touch Bar to add them。To remove functionality,Just drag it off the Touch Bar。 •Adjust the order:Drag function icons to adjust the order in which they appear in the Touch Bar。 5.Complete setup •After customization is complete,Click the "Done" button in the lower right corner of the window to save the settings。 6. Application-specific settings •You can also set Touch Bar functionality for specific applications。In the "Customize Touch Bar" interface,You can select "Application Shortcuts",Then customize your own Touch Bar button for each app。 Go through the above steps,You can optimize your Mac’s Touch Bar functionality based on your personal needs,Improve operational efficiency。
Office includes the new Word、Excel、PowerPoint、Outlook 和 OneNote ,Perfect support for Retina,Support Chinese,Lots of feature updates,Very powerful! # Full-featured and powerful office suite Microsoft Office is a collection of applications,Each application is designed to perform a specific task,And these apps are created to enable you to start working on any type of project,All while knowing you have all the essential tools you need and more。 also,Microsoft Office also makes it possible to share files with your office,Collaboration becomes easy with anyone working on the same presentation or spreadsheet,thus really speeding up work when needed。 # The Office suite of collaboration features and tools, given its large installed base,Millions of users use it every day,You might think of it as a platform,can help you get the job done,It also enables you to stay in touch with colleagues and clients who need it to help you get the job done in a timely manner and as correctly as possible。 Microsoft Office comes with apps to make you more productive,And depending on the version you want to buy (e.g.,Home and Student Edition,Home & Business or Home Premium),It gives you access to Word,PowerPoint,Excel,Utilities like Outlook and other features。SkyDrive storage,Skype minutes and automatic version upgrades。 # A wide range of templates helps you create high-quality documents in no time Plus,Microsoft Office comes with a built-in template library,Allows you to create professional-looking documents and spreadsheets in no time。Another great feature that can greatly improve your work efficiency is,It also works in full screen mode,thus eliminating all possible interference,Focus on the task at hand。 taking all issues into account,If you think the open source Office suite isn't enough for your needs,and you want a professional-grade solution to help you get the most out of your time and money,Then Microsoft Office is what you need。 The latest package contains Microsoft Word Microsoft...
One Switch is a tool for quickly turning on or off system functions on the mac platform.。For example, hide mac desktop icons with one click、Switch to mac’s dark appearance (dark mode) with one click、Turn off Mac hibernation with one click、Turn on mac screen saver with one click、Connect to AirPods and more with one click、Show hidden files on mac with one click、Turn on Mac original color display and other functions with one click,You can also customize other features! Hide desktop icons with one click Hide all icons on the desktop with just one click。 Switch to dark mode with one click and switch between dark/light appearance at any time。 One-click stay awake to prevent your Mac from sleeping or showing a screensaver。 Turn on screen saver with one click Sometimes you may want to turn it on。 One-click connection to AirPods Connect AirPods to Mac in just one second。
Comments (0)